Can you believe it's almost December? I swear I just put away my Halloween decorations (no really, I put them away last week, much to the dismay of my five-year-old). We had grandiose plans for coming up with a cool advent calendar to share, but the craft fairs got the better of us, I'm afraid. Luckily, a few other bloggers are on top of of it this year. Here are a few ideas we LOVE and are trying to make time for this weekend! If I'm a few days late, I doubt my kids will care. They'll be thrilled to get more than one treat in one day!
I had this calendar idea on my list to share for the new year, but I couldn't pass up sharing this gorgeous version by Teresa McFayden. She's postd a tutorial on her blog just in time for December. Teresa is the extremely talented founder of Paper Bella and the original creator of Foof a La, a popular scrabooking line. If you love her style as much as I do, check out her awesome ezine, 12 Days of Comfort and Joy, available beginning Dec. 3. It's packed with 12 beautiful papercrafting project tutorials, including pictures, giveaways, and downloadable freebies. You can subscribe here. The Purl Bee has done it again with this retro felt advent calendar, perfect for the craft lover. Love it! This one could definitely be completed this weekend!
I think this calendar and Little Birdie Secrets were MFOE(Made For Each Other)! The three birdies definitely need a little birdie advent calendar this year. And Skip To My Lou is offering the pattern for free! She is so sweet!
This yo-yo calendar is actually a wall-hanging. Sunshine Creations is offering this tutorial in a two-step installment, so check back with her for the final project!
This adorable envelope advent calendar is another one you could easily complete this weekend. Each day you take the paper ornament out of the envelop and hang it from the button. Love the red stitching on the white felt! Burda Style always has great patterns. Their free pattern and tutorial is for a stocking advent calendar, with enough room to stuff a sweet treat each day. It's like Christmas morning every morning!
This year I'm going to do a separate countdown for my kids--the countdown to Grandma's house! We'll be celebrating with family in Utah this year, and my kids are more excited about seeing grandma and grandpa than Christmas. We'll work on something this weekend and post photos on our Flickr pool, so check there soon! And if you've got a great advent calendar idea, post a picture of it on our Flickr pool, too! We love to see what our readers come up with!
With Thanksgiving behind us, we know everyone is pretty worn out from all-day cooking. We also know that your family still needs to be fed, so we wanted to share a simple, filling recipe that will go perfectly with your Turkey Day leftovers. You can also throw some of your leftover turkey chunks into this soup for a tasty addition!
Cheesy Potato Soup 4 medium potatoes, peeled and chopped 1 large onion, chopped 4 c. water 1/4 c. butter 3 T. flour 1/2 c. milk 2 c. cheddar cheese, shredded 1 tsp. salt 1/4 tsp. seasoned salt 1/4 tsp. paprika 1/8 tsp. pepper
Combine potatoes, onion, and water in a large saucepan. Bring to a boil and simmer until tender, about 20 minutes. In skillet, melt butter; add flour. Cook and stir until mixture bubbles, about 1 min. Remove from heat and stir in milk. Return to heat; cook and stir until thickened. Stir mixture slowly into potato mixture. Add cheese and seasonings.
My favorite way to serve the soup is in a warm bread bowl. Here is an easy way I made mine. I took one loaf of frozen bread dough and once it was thawed, but still cold, I divided it into three equal portions, forming each one into a circle. I placed them on a sprayed cookie sheet and covered them with plastic wrap that had been sprayed. Let rise until double in size. Remove wrap and bake at 350 for 25 minutes or until golden brown. Slice off the top once the bowls are cool and hollow them out with a spoon. Fill with this delicious soup or any other soup of your choice! If you need more than three bread bowls you can use as many additional frozen bread loaves as needed. Frozen rolls can also be used by combining three rolls to make one large circle. If you want larger bowls you can split the loaf in half rather than in thirds.
My family has a special tradition at Thanksgiving we call "the grateful book." Each fall my mom puts out a simple journal that holds a list of hundreds of things our family and friends are thankful for. When you're at my parents house around the holidays, you're not allowed to leave until you've written something you're thankful for in our book. The list includes about everything you can think of from "holding a snuggly baby" to "Cheetos." The best part is looking back at the things we've been thankful for over the years, and seeing each grandchild's name as they join our family. It gives us so many reasons to be happy and grateful--to really focus on the meaning of the holiday season.
Since my oldest son is learning how to write, I thought this year would be the perfect time to introduce a grateful book in my own little family. So I made a simple book for us to record our blessings in, using just chipboard, scrapbook paper, and plain white printer paper. I have made a few of these books in the past, and I can't get over how easy they really are, especially when you look at how fabulous the final product is. Japanese book binding is an ancient art, but you can master the basics in one try.
These beautiful books make great gratitude journals, but they'd also be great girlfriend gifts or stocking stuffers. Choose your favorite 12 x 12 scrapbook paper, wrapping paper, or even fabric for your covers. You can use plain paper inside, or lined, or print your own (like I did for my sister-in-law's guest book at her wedding). Or, try scrapbook paper for a custom mini scrapbook like my "girls trip" album below. They can be made in whatever size you want, but this one is made to use half sheets of 8.5" x 11" paper.
Japanese Book Binding Tutorial What you'll need:
*Two pieces of 3-4# Davey board (chipboard) approx. 6" x 9"--you can find this at art supply stores, often in {very} large sheets for $5-6 (I bought a sheet like this and made about 10 books)
*Exacto knife (heavy-duty scissors could also be used, but the knife makes a straighter cut)
*Ruler
*Mod Podge or other decoupage medium and a foam brush
*Scrapbook paper, wrapping paper, handmade paper, etc. of your choice to cover your book, cut to 8" x 11"
*Coordinating paper for the inside cover, cut to 5.5" x 8.5"
*1 yd. narrow ribbon or strong linen thread to bind your book
*Large binding clips (from the office supply store)
*Hand drill and 1/8" drill bit
*Large-eyed needle, like a quilting or papercrafting needle
*Old phone book
*Optional: brayer or credit card
Okay, let's get started!
1. Using a ruler and an Exacto knife, cut two pieces of Davey board 6" x 7 1/4", and two pieces 6" x 1 5/8".
2. Trim your front and back cover paper to 8" x 11". Place your boards next to each other in the middle of the paper, leaving a 1" border. Be sure to leave a 1/8" space between the two pieces so your book can easily open.
3. Cover one side of the chipboard with a thin layer of Mod Podge. Turn it over and glue it in place in the middle of your cover paper.
4. Turn the cover over and smooth out any wrinkles and bubbles with a brayer, a credit card, or the side of your hand.
5. Turn it back over and fold over the four corners, making a 90° angle. Make sure the fold is tight and close to the corner, but not so tight it rips through the paper.
6. Fold all four sides down over the folded corners, being sure to fold them tightly for a crisp edge.
7. Unfold sides and corners and put a thin layer of Mod Podge on each corner. Fold the corners back down and smooth out bubbles.
8. Do the same for the sides.
9. Repeat steps 2-8 for the back cover.
10. Cut two sheets of the same or a coordinating paper for the inside covers measuring 5 1/2" x 8 1/2".
11. Apply a thin layer of Mod Podge to each sheet, center on the inside of the covers, and smooth out any air bubbles.
12. Crease the inside and outside of each cover where your space is using light pressure and a bone folder, scissors handle, top of a ball point pen, etc. Just something that will not break through the paper.
13. Decide how many sheets of paper you want in your book and divide that number in half. Take that many sheets of paper of your choice and cut in half so it measures 5 1/2" x 8 1/2".
14. Center the paper on the inside back cover of your book.
15. Carefully lay the top cover on top, matching it up with the bottom cover. Be careful not to move any of the paper between. Using binding clips, clip the covers and paper together in four places, but not on the spine.
16. Now it's time to mark where your book will be stitched together. For this size book you should have about 5 holes, one inch apart. Measure down 1" and over 7/8" and make a mark. Mark the next four holes 1" below the last hole.
17. Place your book on top of an old phone book. Now take your hand drill and a 1/8" drill bit and drill through the covers and paper until your bit hits the phone book. Then reverse out of the hole. Do this in each of the five marks on the spine. There will be some "paper dust", but you can easily brush or blow it off.
18. Now it's time to bind your book! Thread the end of your ribbon through a large needle. Mine didn't have a very big eye, so I just threaded as much as I could through it and it worked fine.
19. Start sewing by bringing your needle (or hair-pin) with ribbon through the top hole from the back, leaving 5-6 inches to use in finishing the binding. Now your needle and ribbon are in front the book. Put the needle through the second hole from the back side of the book, wrapping the ribbon snug around the spine. Continue down the book in the same fashion, always putting the needle in the next hole from the back side of the book.
20. Once you get down to the 5th hole, wrap the ribbon around the bottom of the spine, putting the needle again in the 5th hole from the back side. Now work your way back up the book in the same fashion you sewed your way down, and you will see the ribbon forming a criss-cross pattern. When you get to the top hole, bring the remaining ribbon and the original 5-6 inches together and tie in a knot over the first hole, finishing in a bow or leaving loose ends.
21. You're done! You can leave the cover as is, or decorate it chipboard letters or shapes, pictures, charms, beads, etc.
Here is an example of a mini scrapbook I put together for each of my friends when I hosted our annual girls' trip. Instead of blank paper, I used double-sided scrapbook paper for each page, embellishing them and the front cover after I put the book together.
Rather than show off the sewing on the spine, I stitched it with a strong linen thread then covered the spine with a piece of coordinating cardstock, gluing it to each side of the cover and embellishing with ribbon.
This is a much smaller version, only 4" x 7", that I keep in my purse. I put a layer of Mod Podge over the outside covers and let them dry before I bound it to protect the paper.
My next project is to make a book of the poetry I wrote in high school and college. We'd love to see what you come up with! Don't forget to upload photos of your projects inspired by our tutorials on our Flickr pool!
We offer several advertising and sponsorship options for businesses and blogs big and small. For more information about options and rates, please e-mail us at littlebirdiesecrets@gmail.com


 I had this calendar idea on my list to share for the new year, but I couldn't pass up sharing this gorgeous version by Teresa McFayden. She's postd a tutorial on her blog just in time for December. Teresa is the extremely talented founder of Paper Bella and the original creator of Foof a La, a popular scrabooking line. If you love her style as much as I do, check out her awesome ezine, 12 Days of Comfort and Joy, available beginning Dec. 3. It's packed with 12 beautiful papercrafting project tutorials, including pictures, giveaways, and downloadable freebies. You can subscribe here.
 The Purl Bee has done it again with this retro felt advent calendar, perfect for the craft lover. Love it! This one could definitely be completed this weekend!
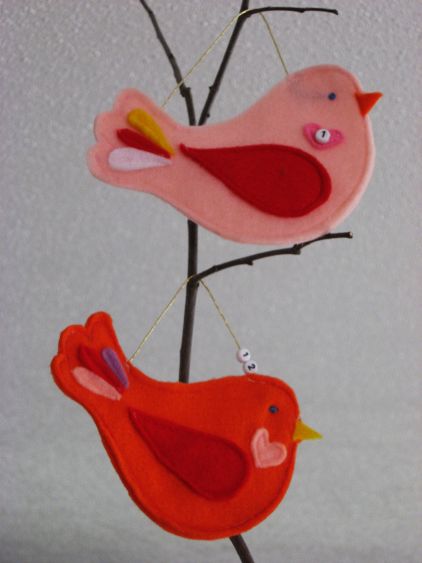 I think this calendar and Little Birdie Secrets were MFOE(Made For Each Other)! The three birdies definitely need a little birdie advent calendar this year. And Skip To My Lou is offering the pattern for free! She is so sweet!
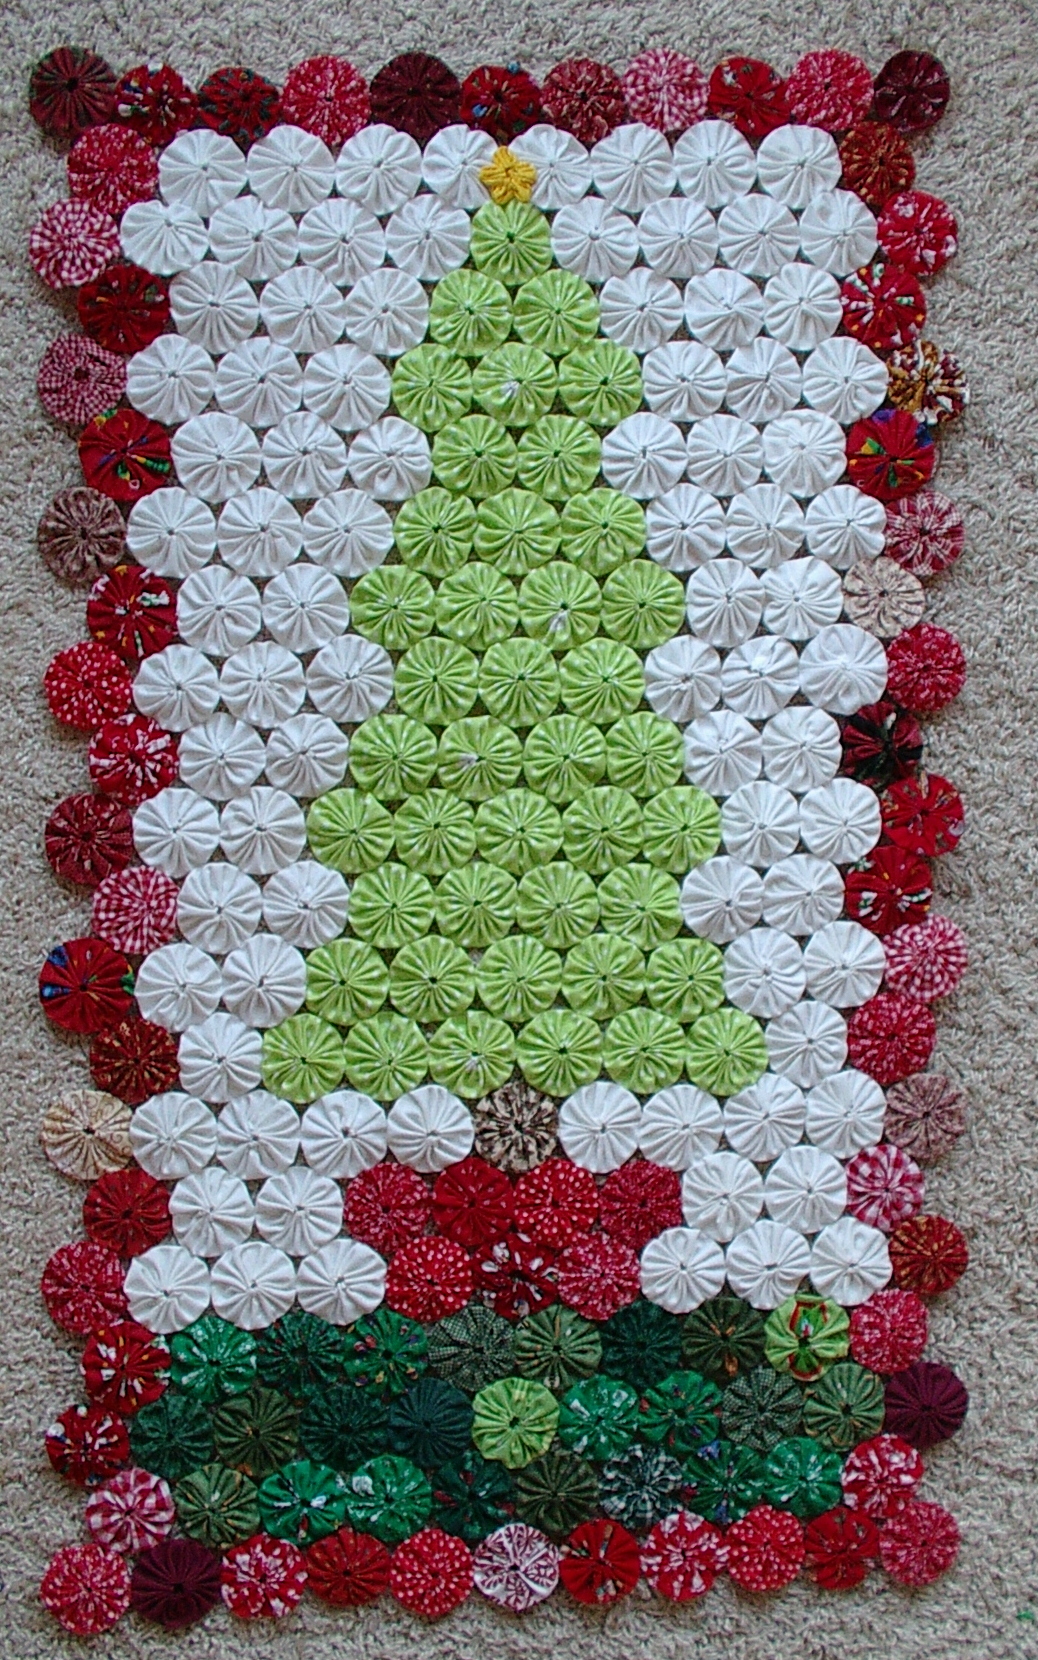 This yo-yo calendar is actually a wall-hanging. Sunshine Creations is offering this tutorial in a two-step installment, so check back with her for the final project!
 This adorable envelope advent calendar is another one you could easily complete this weekend. Each day you take the paper ornament out of the envelop and hang it from the button. Love the red stitching on the white felt!
 Burda Style always has great patterns. Their free pattern and tutorial is for a stocking advent calendar, with enough room to stuff a sweet treat each day. It's like Christmas morning every morning!


